Essential
🗺️ Outbound Biomes Guide
All 5 biomes with energy multipliers, key resources, critical locations, and recommended exploration order.
10 min readUpdated: May 12, 2026
📋 Table of Contents
⚡ Energy Comparison Overview
Recommended exploration order: Meadows → Dense Forest → Coast → Desert → Mountain
| Biome | Solar | Wind | Water | Progress |
|---|---|---|---|---|
| 🌿 Meadows | 1.0× | Low–Med (~20 EU/hr) | Excellent | 30–40% |
| 🌲 Dense Forest | 0.7× (canopy) | 0.6× | Good | — |
| 🏜️ Arid Desert | 1.3× (best) | Med (~30 EU/hr) | Scarce (oasis only) | — |
| 🌊 Coast | 0.9× | Highest (~55 EU/hr T2) | Excellent + tidal +20% | — |
| ⛰️ Mountain | 0.6× (lowest) | Very High (~75 EU/hr T3) | Good | Final |
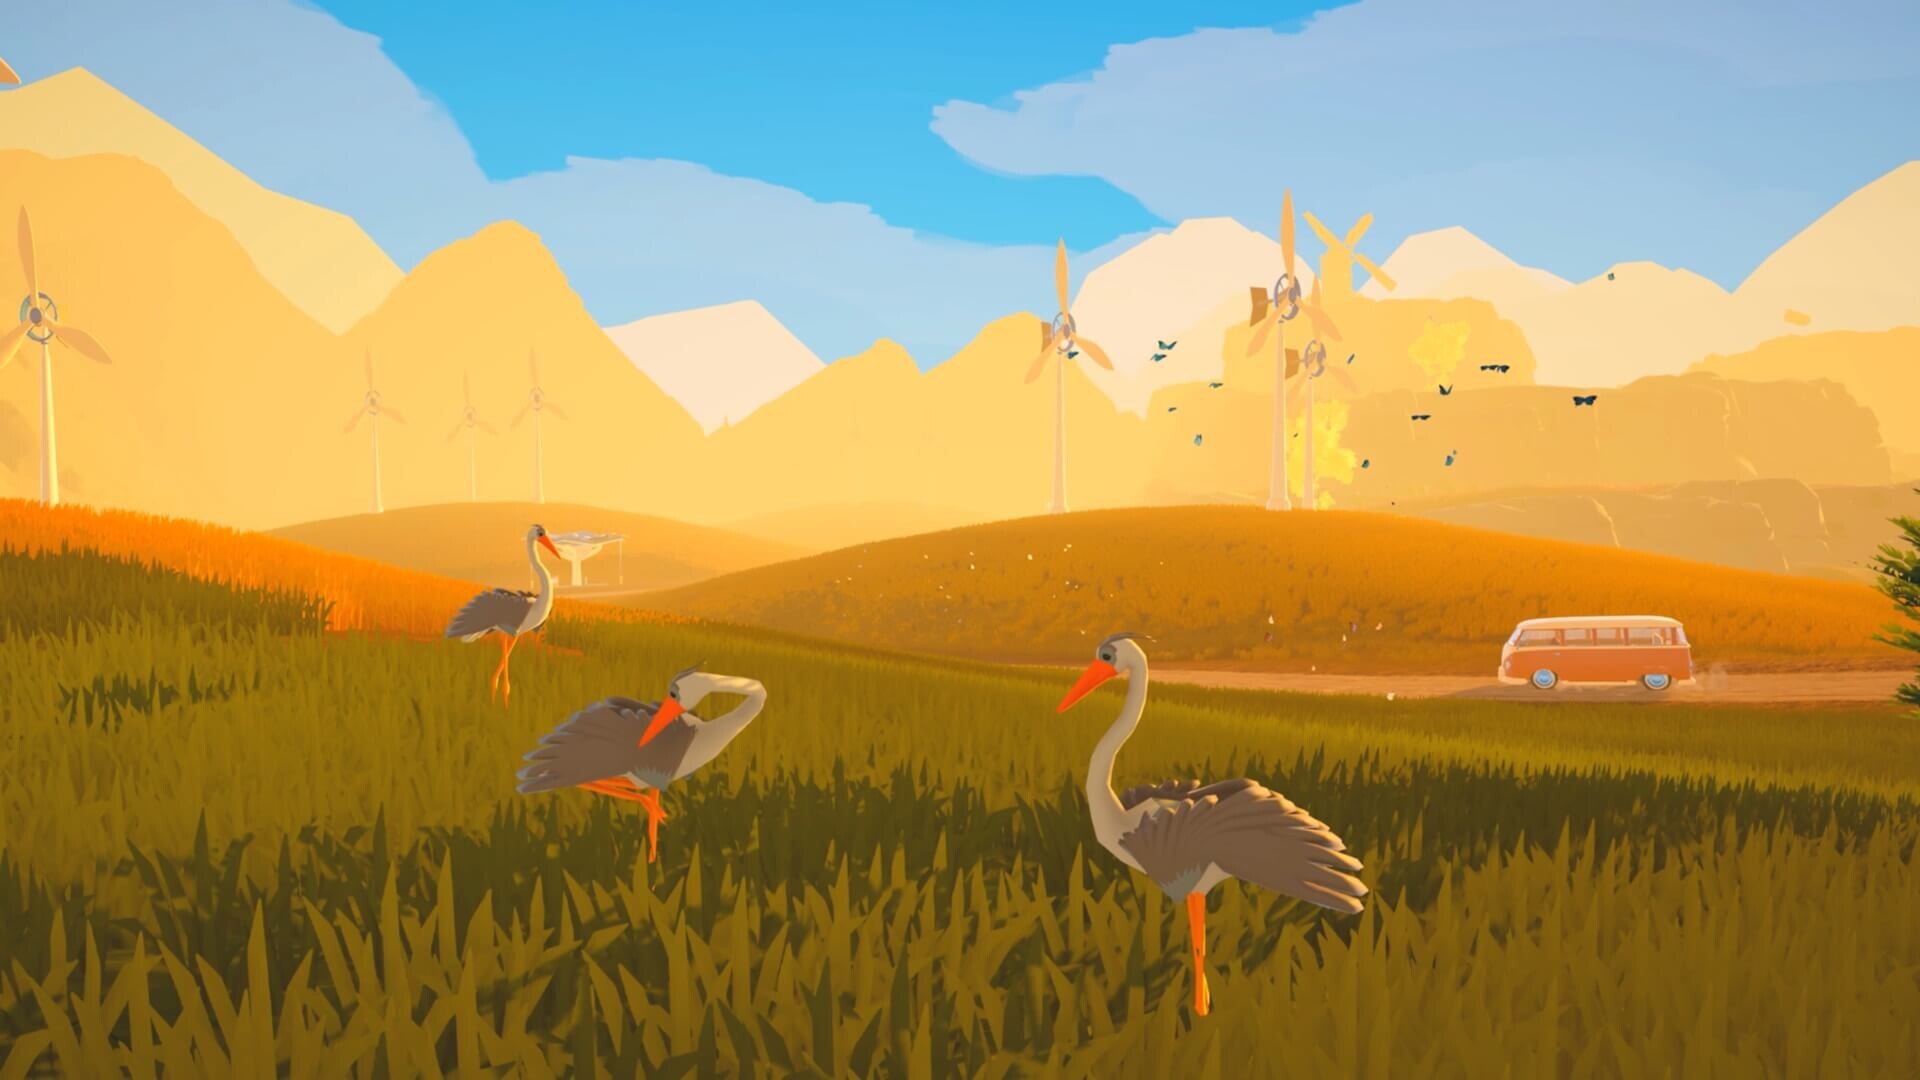
🌿 Meadows — Starting Biome
Game progress: 30–40%
Key Resources
- Oak Log, Branches, Surface Rock, Flint
- High Grass Fiber, Leafy Greens, Carrot
- Wild Berries, Meadow Mushroom
- Metal Components (abandoned camps)
Critical Locations
- 🏪 Meadows Trading Post — Cooking Station blueprint, dog food
- 🔬 Research Outpost — Water Wheel + Herb Rack blueprints
- 🐾 Paws & Whiskers Lodge — Adopt your dog
- 🏔️ NW Viewpoint — Reveals 30% of map
Before leaving checklist: Dog adopted, Engine upgraded, 12-slot chassis, Cooking Station, Water Wheel, Herb Rack blueprint, 2× Battery Bank, Wind Turbine, Viewpoint visited
🌲 Dense Forest — Second Biome
Key Resources
- Dense Oak / Birch Log
- Forest Mushroom, Wild Herb
- Granite, Advanced Metal Components, Gear Parts
Critical Locations
- 🏕️ Large Camp (NE) — Advanced Workbench blueprint (don't miss)
- 🏪 Forest Trading Post — Extended Battery, Deluxe Bunk
- 🔬 Research Station (SW) — T3 Solar Panel blueprint
- 🦊 Wildlife Reserve — Rabbit / Fox adoption
Strategy: Head straight to the NE Large Camp on arrival. Park by a river for free Water Wheel power while crafting.
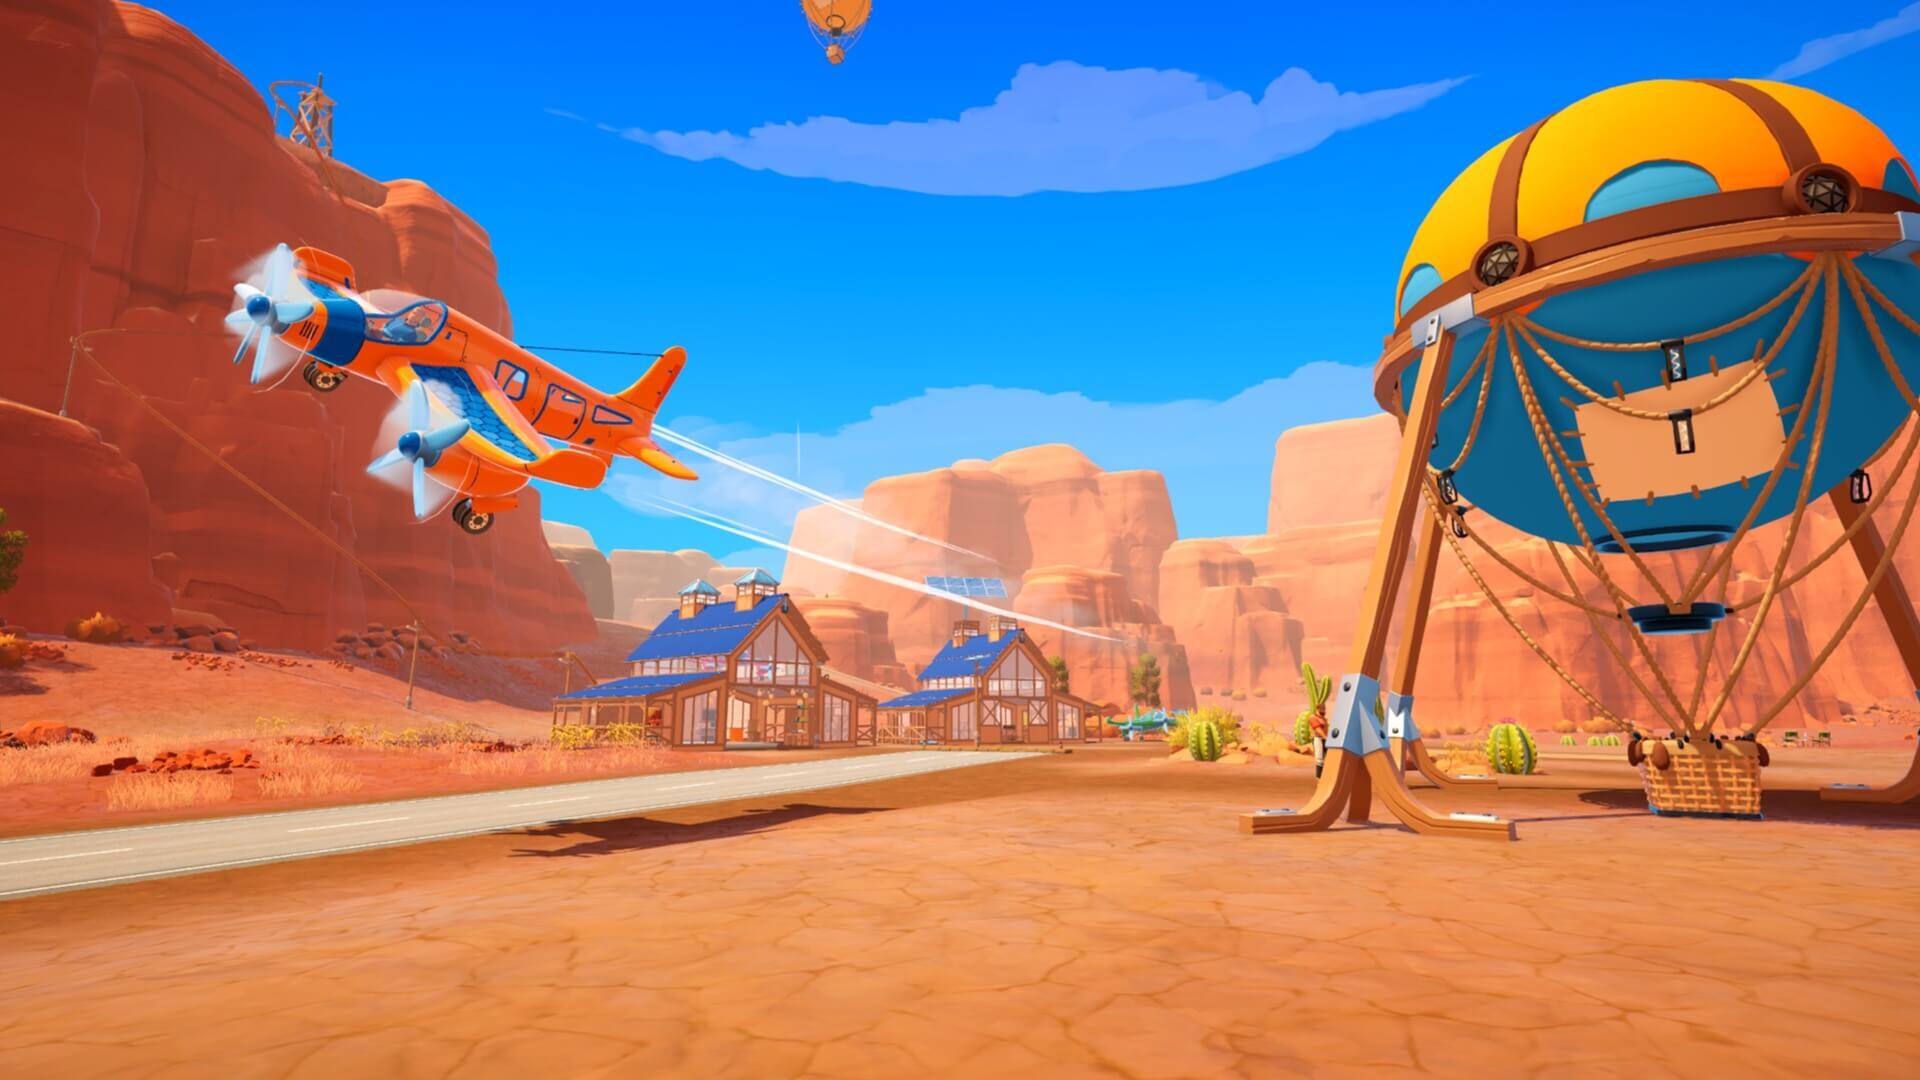
🏜️ Arid Desert — Third Biome
Key Resources
- Desert Stone, Sandstone, Cactus Fiber
- Desert Honey (oasis, rare), Iron Ore
- Crystal Lens (Crystal Cave, NE)
- Salt Flat Crystals
Critical Locations
- 🏪 Desert Trading Post (W entrance) — Cooling Module, desert blueprints
- 🌴 Desert Oasis — Water, honey, wildlife reserve
- 💎 Crystal Cave (NE) — Crystal Lens nodes, advanced recipe blueprints
- 🏛️ Desert Ruins — Highest supply crate density in game
Warning: Without a Cooling Module, stamina drains 3× faster at midday. Buy one at the Desert Trading Post before exploring.
🌊 Coast — Fourth Biome
Key Resources
- Fish, Sea Grass / Seaweed
- Crab Shell (rare), Advanced Metal (shipwrecks)
- Tidal Catalyst (tidal pools)
- Brine Salt
Critical Locations
- 🏪 Coast Trading Post — T2 Wind Turbine, Advanced Water Wheel, Textile Station, Wind Vane
- 🚢 Shipwrecks — Highest Advanced Metal density
- 🌊 Tidal Cave (low tide only, ~20 min cycle) — Tidal Catalyst, blueprint chests
- 🏠 Fisherman's Outpost — Fishing rod blueprint
Energy tip: T2 Wind Turbines average 55 EU/hr here — best wind biome before Mountain. Water Wheel gets +20% tidal bonus.
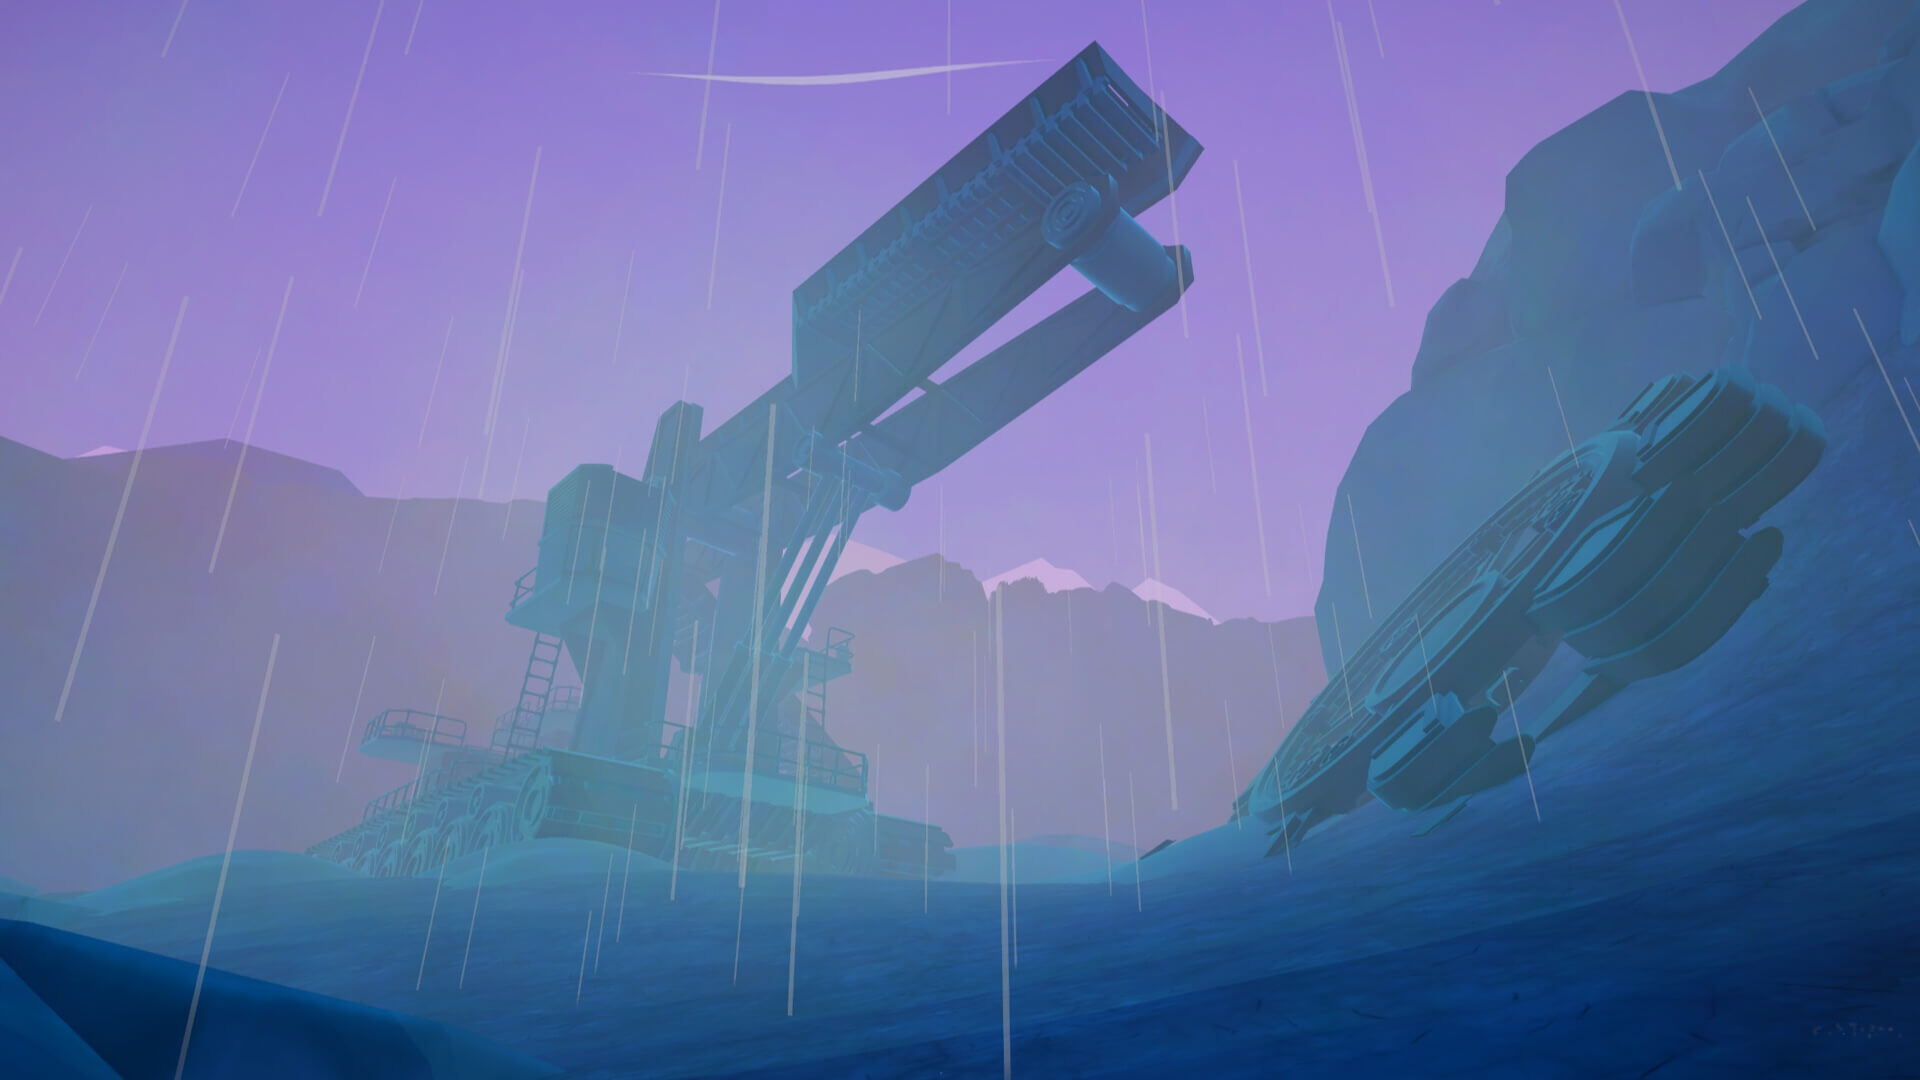
⛰️ Mountain — Final Biome
Key Resources
- Summit Alloy (mountain ore deposits)
- Ice Crystal (glacier layers)
- Alpine Flower, Storm Mushroom (rare)
- Power Core (machinery wrecks)
Critical Locations
- 🏪 Mountain Trading Post — Mountain Engine upgrade, T3 Wind Turbine, Wind Vane
- 🔬 Research Outpost (mid-slope) — Chemistry Lab, Ultra-Cap Battery, HE Solar Array blueprints
- 🧊 Glacier Cave — Ice Crystal nodes
- ♨️ Hidden Hot Spring (NW slope) — Full stamina restore, dog happiness bonus
Entry requirements: Mountain Engine required. Bring 20+ food items and 800+ EU battery capacity before entering.